In this tutorial, I’ll show you a quick and easy setup for customizing the paging navigation in the GeneratePress theme. If you want to learn how to customize the paging navigation in the GeneratePress theme, so this tutorial will be so helpful for you.
Following this short but helpful guide, you can easily beautify the paging navigation in your WordPress blog built with the GeneratePress theme.
If you’re a new GeneratePress theme user, please check out my GeneratePress WordPress theme review. It will definitely help you choose the perfect WordPress theme for your new blog.
Download GeneratePressGeneratePress and GenerateBlocks are a perfect combination to create a beautiful website. I hope you will also love to read my GenerateBlocks review.
GenerateBlocks is a powerful and lightweight block editor that adds additional design tweaks to create a beautiful website without a page builder.
Download GenerateBlocksWithout any further ado, now let the process begin.
What is Pagination
Pagination is the process of breaking a long list of posts into separate pages. Usually, pagination is used when content needs to be divided into separate pages.
WordPress only shows 10 posts per page by default, whether you’re viewing a category, archive, or default page for a blog or site.
You can change the number of posts that appear on each page on the reading screen to Admin – Settings – Reading.
Websites can’t have all their information on a single page. Websites may need multiple pages for easy navigation, better user experience, etc. E-commerce sites would be a great example of that.
In most cases, pagination is better than traditional “previous – next” navigation because it provides visitors with quick and convenient navigation through the site.
The following points are good practices of pagination design:
- Make previous and next links
- Provide large clickable areas
- Make spacing between page links
- Put the first and last links on the outside
You might also like this:
- How you can customize and beautify navigation search in GeneratePress
- Easy setup to customize the read more button in GeneratePress
- Back to Top button customization using CSS in GeneratePress
Customize Paging Navigation in GeneratePress
To customize and beautify the paging navigation, first, we will set a desired number appearing of posts through Admin – Settings – Reading.

You will see pagination to move to the next page when the number of posts crosses the specified limit.
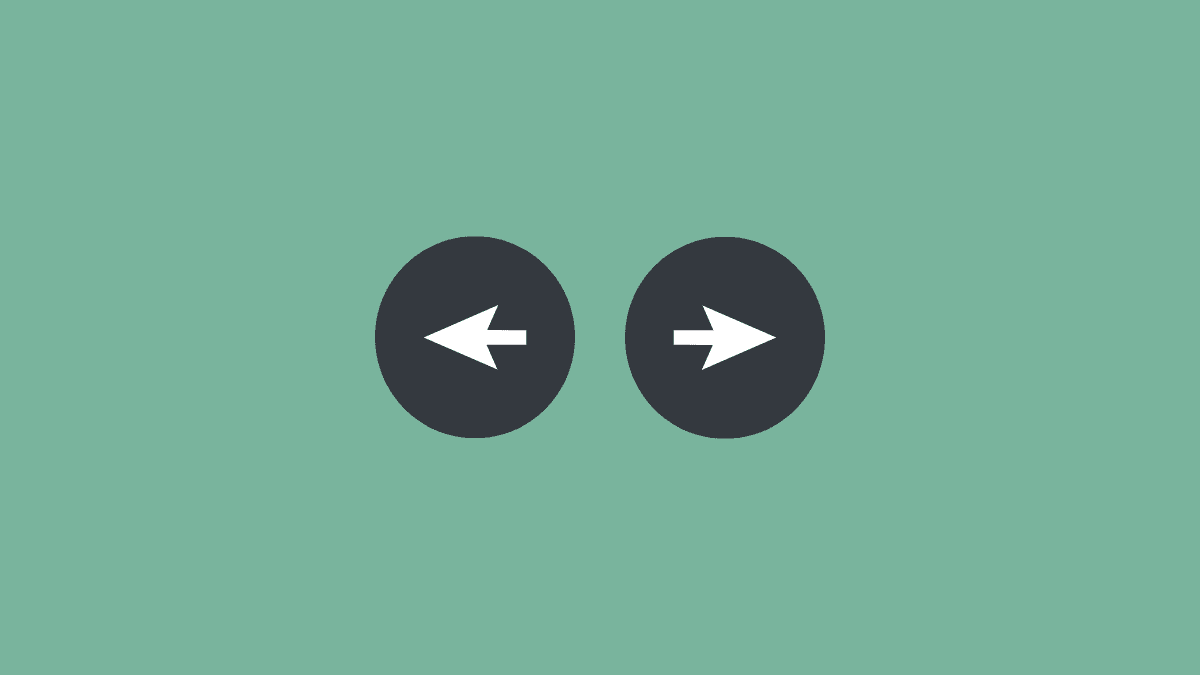
By default, in the GeneratePress theme, you’ll see the paging navigation look like this:

Now we will customize the paging navigation for the GeneratePress theme using the following CSS code.
/* Paging navigation style */
.paging-navigation .nav-links > * {
        padding: 7px 15px;
	margin-right: 0px;
	border-radius: 0px;
	display: inline-block;
	border: 1px solid #34393f;
	background: #ffffff;
}

.paging-navigation .nav-links a:hover {
        background-color: #34393f;
	border-color: #34393f;
        color: #ffffff;
}

.paging-navigation .nav-links .current {
	background-color: #34393f;
	border-color: #34393f;
        color: #ffffff;
}

.paging-navigation .nav-links .current {
        font-weight: 700;
}

.nav-links > * {
         border-width: 2px;
         border-style: solid;
         border-color: #34393f;
	 text-decoration: none;
	 color: #34393f;
}
To add the code:
Go to Appearance – Theme File Editor, and paste the code into the style.css file if you are using the GeneratePress child theme.
Or paste this code by going through Appearance – Customize – Additional CSS. You can also use a plugin, Code Snippets to add CSS and PHP snippets to your WordPress site.
This will change the paging navigation to something like this:

You can change all the parameters according to your choice, such as the paging navigation padding, borders, radius, colors, etc.
If you want to set it in the center position, use the following code:
.nav-links {
	  text-align: center;
}
To change the background color of the paging navigation container, use the code below:
.container .paging-navigation {
	  background: #f0f0f0;
}
If you want to change the length of the displayed page numbers, you can add this PHP snippet to the functions.php file of the child theme or use the Code Snippets plugin:
add_filter( 'generate_pagination_mid_size','tu_increase_pagination_numbers' );
function tu_increase_pagination_numbers() {
    return 4;
}
Increase the 4 to show more numbers.
Now to change the Next and Previous text, use the following PHP snippet:
add_filter( 'generate_next_link_text', function() {
    return 'Add your text here';
} );

add_filter( 'generate_previous_link_text', function() {
    return 'Add your text here';
} );
Conclusion
So in this article, you have learned how you can customize the paging navigation in the GeneratePress theme by simply inserting the above CSS and PHP snippets code on your WordPress website.
By following this method, you can get your desired style for the paging navigation.
I hope you will like it.
If you face any problems or want more tips, please don’t hesitate to comment below. I’d be happy to help you if I can.
I love your comments. This motivates me to create the best WordPress resources and marketing articles for you.
Also, feel free to ask me anything about WordPress plugins, themes, hosting, and starting your blog.
You can follow WPSettingbox on Twitter and Facebook to get fresh and updated content.
I am using the Generatepress theme, and my posts in a particular category do not show more than blog pages show at most in reading in the setting area of WordPress, in frontend. There are more than 25 posts, but it shows only 10 as set in the above setting. Please suggest a solution. Thanks!
As you set the most recent blog post show on the blog page, it is set for all categories as the same. Unfortunately, I have no solution for this.
Moreover, you can elaborate on your problem on Fb chat with me. https://www.facebook.com/imjdipak
I changed the paging navigation location by entering the code to add CSS. But it only changes on the Desktop, not on mobile. Is there a solution?
The code is fine, and it applies to both desktop and mobile. For better help let me know about your site so that I can check where is the problem.
Nice article, thanks for giving. it is working properly. Thanks for giving this article.